
Imagine a vine so vigorous it grows inches overnight and so valuable it produces useful tools and gifts. Okay, Jack’s magic beans grew a vine that led to giants and a golden goose but this magical vine is no fairy tale. Loofah is a hardy, non-invasive, drought-tolerant vine that produces tons of fibrous gourds and it is easy to grow in your own yard.

Loofah sponges are actually vegetable gourds that grow on a vigorous vine.
Loofah, also spelled luffa or loofa, are members of the Cucurbitaceae or gourd family of plants which includes cucumbers, watermelons and squash. The bright yellow flowers on loofah vines closely resemble squash and cucumber blooms. Loofah gourds are grown from two species: Luffa aegyptiaca and Luffa acutangular or cyclindrica. The first is most commonly called ridged luffa but is also as known as angled luffa, vegetable gourd, or Chinese okra. The second type is most commonly known as smooth luffa, dishrag gourd, or Egyptian luffa.
Smooth loofah (Luffa acutangular or cyclindrica) is the type I have grown in my Jax Beach backyard for over 15 years. The photos and growing tips in this article are all about growing smooth loofah gourds. The University of Florida’s IFAS extension program has an excellent, highly informative article about the differences and origins of both loofah species. Read it here: https://edis.ifas.ufl.edu/hs1285
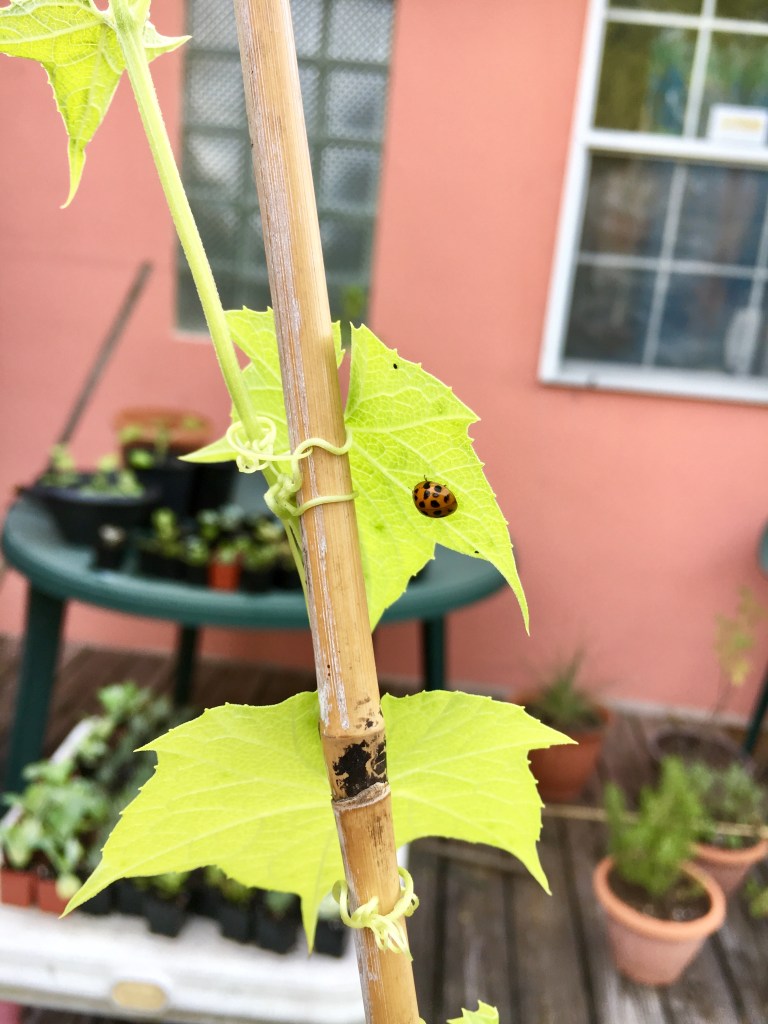
Hardy, drought-tolerant loofah vines love sun and cling onto anything within reach.


How, when and where to plant loofah.
Your loofah vine will need at least 6 hours of bright sun each day. I recommend starting seeds in small pots to ensure that the plants have good root development before planting them in the ground. Many smart gardeners who have bought my loofah seeds reported great success with sowing the seeds directly in the ground. I’m certain this is due to their vigilant watering for the first few weeks. Loofah vines are drought tolerant but if you’re planting seeds (or small seedlings) in July, August or September, your young plants will need more water to get established.
Long-standing gardening advice is to plant your loofah seeds in the Spring after risk of frost, anytime in the Summer, or in the Fall at least 150 days prior to the first Winter frost. Here in Jax Beach, we have not had a hard frost in a least three years. Loofah and birdhouse gourds grow year-round in my backyard and the vines take fewer than 150 days to produce healthy gourds.
Whether you plant your seeds in the ground or in pots, plant them about 3/4 of an inch deep. Make a hole with your index finger up to the knuckle. (Yes, touch the dirt. Dig in it with your bare hands.) Once your seeds are planted, make sure the soil does not dry out completely until the seeds have sprouted. Seeds usually sprout within 3-5 days, but some may take up to 10 days. The first two leaves that appear are large and oval shaped. These starter or seed leaves are called cotyledon and look nothing like the actual vine leaves. These starter leaves may fall off or will dry out and turn brown first if your vine is not getting enough water.
Choose a planting location that provides bright sun for at least 5-6 hours a day and gives the vine something to climb up. Loofah vines can be grown in containers but you’d need large ones. Five-gallon paint buckets with lots of drainage hole work well. However, the fast-growing vigorous vine needs something to attach to while growing. It produces larger and more plentiful loofah gourds when planed in the ground.

Once your vines are established, usually within six weeks, your loofah vines will get bright yellow flowers followed by small fruit. These tiny gourds resemble baby cucumbers. As your gourds grow, check to make sure they are hanging unobstructed. A gourd that is caught on the trellis or wrapped by another vine will have a curved or crooked shape.

When a gourd reaches maturity, it will begin to dry out from the top stem downward. The green outer rind will turn dark brown. Leave the loofah gourd on the vine to dry out, but you can help the process by peeling away the dried outer shell or making cracks in it let dry air in. Especially peel away the bottom or make a hole your gourd so that rain can drain out while the gourd is drying out.

Harvesting and cleaning loofah.
You can tell that a gourd is completely dried out when the skin is brown and brittle, and you can hear loose seeds if you shake the gourd. Peel away the dead skin and try to remove as many seeds as you can. I have peeled many loofah when they were half dried out or the skin was brittle but the seeds were not loose. These gourds finished drying in the sun and the seeds were fine. Once your gourd is totally peeled and the seeds have dried inside, you can shake the loofah to remove seeds. I also use toothpicks or wooden kabob skewers to poke out the seeds. Some people recommend bleaching your loofah to prevent mold, but just soak them in water and put them in the sun. They will dry and brighten beautifully without any chemicals.
